Calling all adventurers in search of a challenge - put yourselves to the test here!
In this post, we’re going to talk about the toughest option for reaching the Teide’s summit: the Mount Teide hike. This is an option we only recommend you pick if you’re fit and up for the challenge of walking; if not, there are other, simpler ways of getting up the mountain—we’ll get to that later.
But first things first: you’re here to find out about climbing Mount Teide by following the Montaña Blanca trail (PNT 7)—which currently requires prior authorisation via Tenerife ON—, and we’re going to tell you everything you need to know. Let’s get started!
TABLE OF CONTENTS
Important reference points on Mount Teide
To understand this post, you need to get your bearings first. These are the things you should take into account:
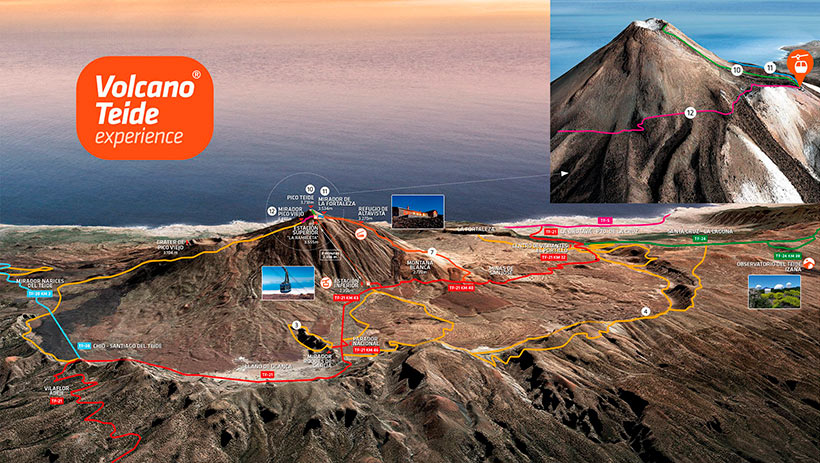
- Montaña Blanca, the beginning of the route, at 2,348 metres.
- Montaña Blanca trail, which connects the base of the volcano with La Rambleta.
- Cable car upper station, at 3,555 metres, also known as La Rambleta.
- Teide Peak, at 3,718 metres.
- The trails branching from La Rambleta.
Right, now you know where everything is, let’s take a look at the route.
YOU NEED TO KNOW:
From the 29th of November 2024, in accordance with the measures implemented by the Island Council Authority for the Natural Environment, Sustainability, Safety and Emergencies, it is essential to have authorisation also for the following paths in the Teide National Park:
✅ PNT 7+11. Montaña Blanca – Mirador de la Fortaleza - La Rambleta (requires authorisation and is subject to a fee)
✅ PNT 9. Teide – Pico Viejo – Mirador de Las Narices del Teide (requires authorisation)
✅ PNT 10. Telesforo Bravo (the summit access trail) (requires authorisation and is subject to a fee)
✅ PNT 23. Los Regatones Negros (requires authorisation)
✅ A section of Trail No. 28 (Chafarí) (requires authorisation)
You can apply for the proper authorisation at Tenerife ON
❌ The authorisation for these paths does not include the permit to access the peak of Mount Teide (PNT 10 Telesforo Bravo), which is also processed via Tenerife ON and is subject to a fee.
❌ Neither does it include a ticket for the cable car descent, which can only be purchased when you are actually at the upper station, by using QR codes, and providing that the cable car is in operation. That is why it is essential to allow for the possibility that, due to adverse weather conditions, technical issues or other problems caused by force majeure, the cable car cannot operate, making it necessary to make the descent on foot. We advise you to check the weather forecast 24 hours before your visit, so that you can safely plan your walking activities.
❌ Anyone not having the mandatory permit for descending on foot via one of the trails that require it, i.e. PNT 07 Montaña Blanca - La Rambleta, PNT 09 Teide - Pico Viejo - Mirador de las Narices del Teide, PNT 23 Regatones Negros, PNT 28 Chafarí, will be refused the right to use the ascent-only service.
❌ Certain trails must be paid for in advance, including the PNT 07 Montaña Blanca – La Rambleta and PNT 10 Telesforo Bravo (the trail leading to the summit of Mount Teide).
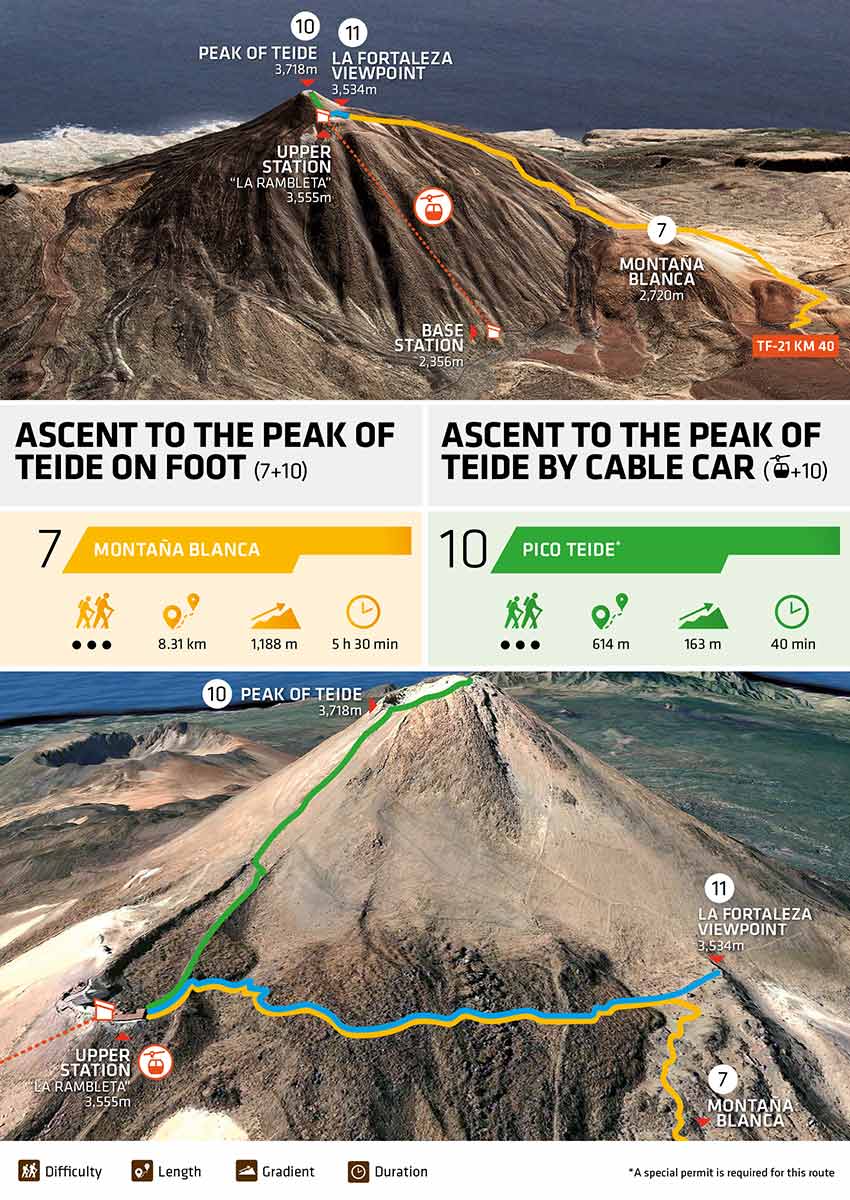
Climbing Mount Teide: The route between Montaña Blanca and the Teide’s summit explained step by step
This is the route people have always used to climb the Teide on foot and is made up of three stages. The first stage runs between Montaña Blanca and the Altavista Refuge. The second goes from there to La Rambleta along trail number 11 via La Fortaleza, and the third leads to the peak along trail number 10, Telesforo Bravo.
I want to book the Mount Teide hike!
Let’s focus on the two first stages of the Mount Teide hike. They’re the most difficult ones by far. This is what you're up against:
- Total length: 8.31 km
- Altitude change: 1,188 metres
- Time taken to climb the Teide on foot: Approximately 5 hours 30 minutes (and 4 hours 15 minutes descent)
The first stage of the Mount Teide hike: from Montaña Blanca to the Altavista Refuge
This is the trickiest part. You follow trail number 7, the Montaña Blanca Teide trail, which begins on the TF-21 Teide road, at kilometre 40.7. You can reach the start of the Montaña Blanca Teide trail by bus or in your own car, parking at the car park at the start of the Montaña Blanca trail. If you’re taking the cable car up, you can park at the Visitors’ Centre car park, the opening and closing times of which can be found here.
Please note that if you’re ascending or descending on foot via the Montaña Blanca trail to the refuge, you must follow the 3.6 km route along a path running parallel to the road (trail 39), between the two points (the road isn’t open to pedestrians and is therefore dangerous).
Wherever possible, the best option is to use collective means of transport. The various bus routes operated by the public transport company Titsa stop at the cable car station and Montaña Blanca.
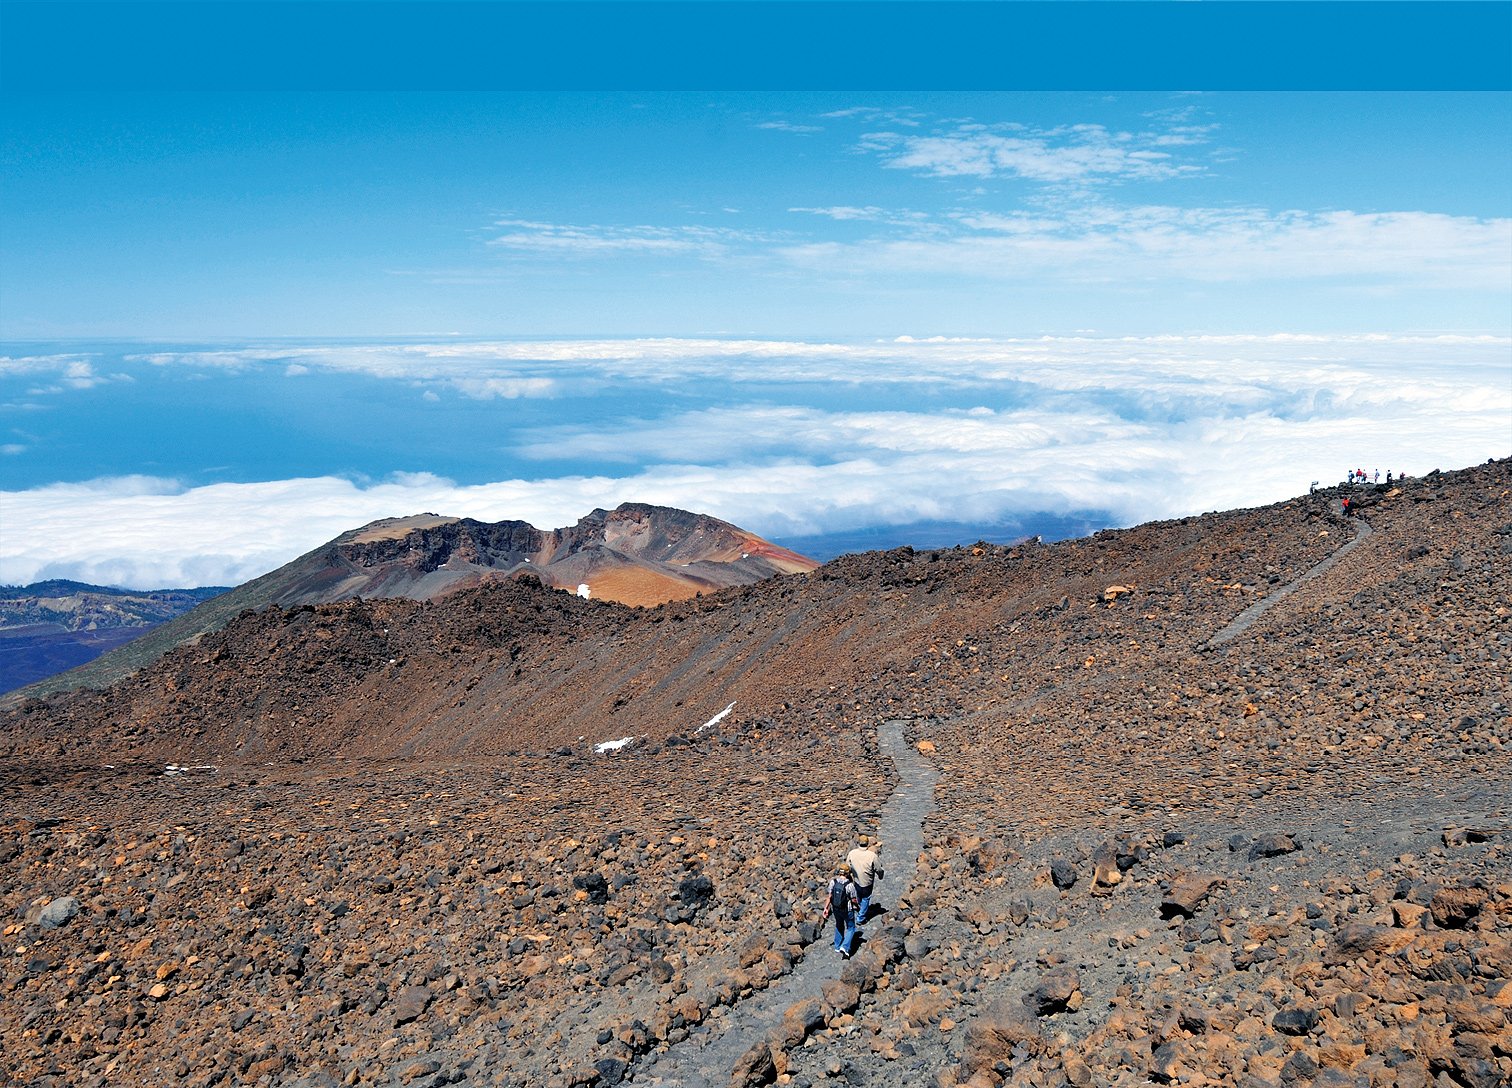
With every step you take, the Montaña Blanca Teide trail will wow you with its natural beauty. It’s one of the Teide’s most special trails, which is saying something, seeing as the park covers more than 19,000 hectares.
You’ll start the Mount Teide hike by walking through landscape typical of explosive volcanic activity, with the ground covered in pumice. This is an area of outstanding scenic, volcanic (don’t miss the Huevos del Teide) and ecological interest. When you reach the peak of the Montaña Blanca, you’ll have walked about 4.53 km with an altitude change of 372 metres. But that’s nothing.
How do I book the Mount Teide hike?
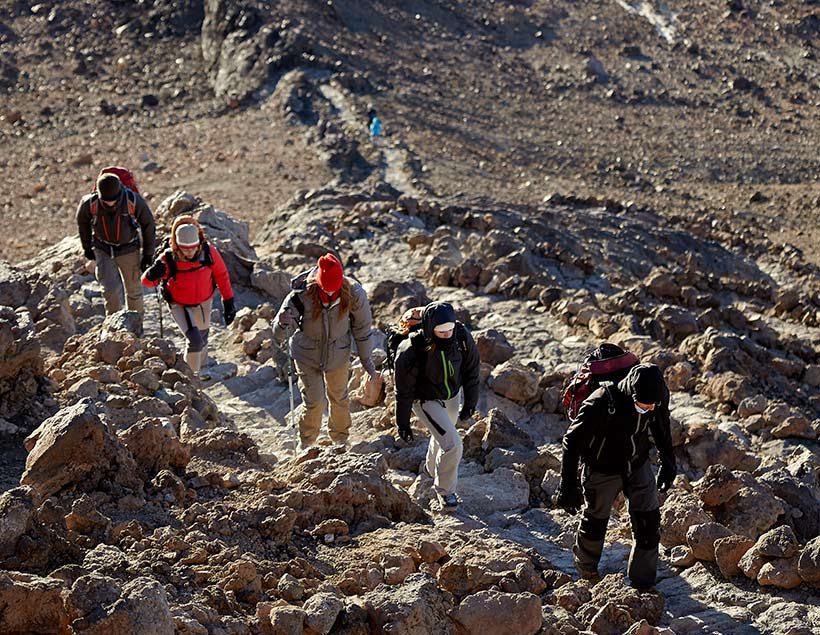
We say that’s nothing because it’s from here on out that the Montaña Blanca Teide trail gets interesting. Yes, this is the trickiest part for hikers who are set on climbing Mount Teide: here you’ll start on a 2.56 km section walking over black lava, during which you’ll climb a massive 544 metres! The gradient is greater than 60% in places, so make sure you’ve come prepared.
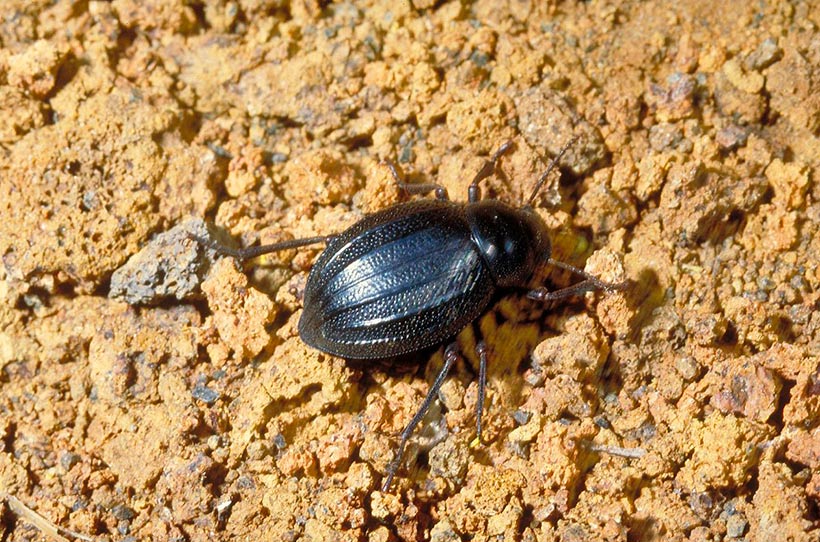
But it’s not all bad! As you’re hiking up Mount Teide, you’ll see how the volcanic flora changes and starts to thin out significantly. It’s an incredible natural spectacle, topped off by the animals you’ll spot that can only be found on the island, like the Gallot’s lizard or the pimelia ascendens, a flightless beetle that only lives in the Teide National Park.
Yes, I want to hike along the Montaña Blanca Teide trail. Take me to bookings
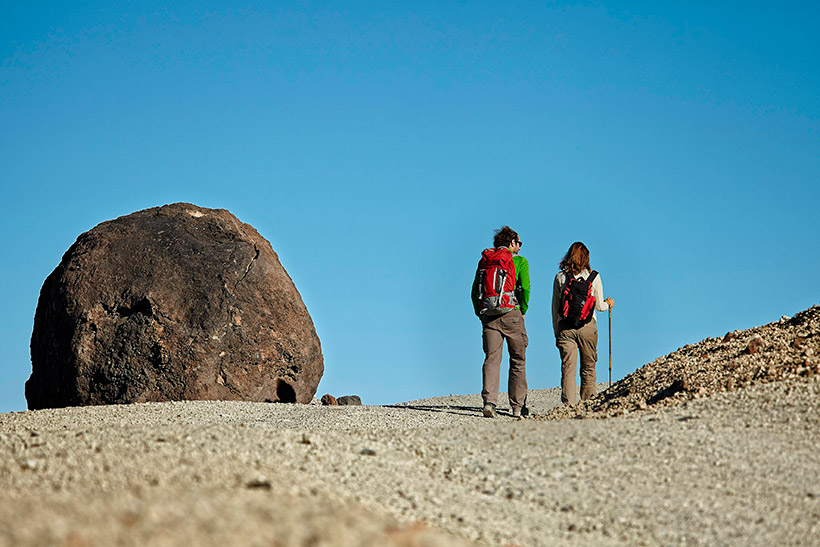
At about the halfway point of this steep track, you’ll come across some gigantic rocks known as the Estancia de Los Ingleses. Thanks to their formation, the bravest explorers used to spend the night huddled between them, lighting a fire and sheltering from the cold before starting their ascent to the peak the next morning.
These days, they’re only used for a spot for a rest after the long hike up, as if you keep going for a few more minutes you will, finally, reach the Altavista Refuge, currently closed to the public, which marks the end of this stage of the route for climbing Mount Teide.
The refuge was built in the mid-19th century and was originally only used as support for the National Park’s research projects. After its latest refurbishment in 2007, it has become a place where you can spend the night when you climb Teide on foot to recharge your batteries. Rest up in Spain’s highest accommodation and sleep amongst the stars, under one of the starriest night skies in the world.
The second stage of the adventure of climbing Mount Teide: from the Altavista Refuge to La Rambleta
The gradient of this second stage of the Mount Teide hike isn’t as steep. It takes you through the Teide’s malpaís landscape, where there’s no vegetation, and then you’ll pass the La Fortaleza viewpoint before reaching La Rambleta after just under an hour.
And then?
Yes, I want to do hiking on Mount Teide
The third stage of the Mount Teide hike: from La Rambleta to the Teide’s summit
This is the best part. From La Rambleta you’ll have to take trail number 10, Telesforo Bravo, for which an access permit (PNT10) is also required, managed online via Tenerife ON, and for which there’s very high demand and limited availability, so you must book well in advance.
So, normally, at this stage, you’d need to have planned ahead and already got a permit. By the way, if you’re interested, in this post we talk about how to get a permit for Teide’s summit.
But don’t worry, you won’t need one if you have booked the activity VIP Ascent to the Teide Peak on Foot with us. The processing of the permit is included in this activity so that you do not have to worry about anything but enjoying the hike.
Take me to book the Mount Teide hike
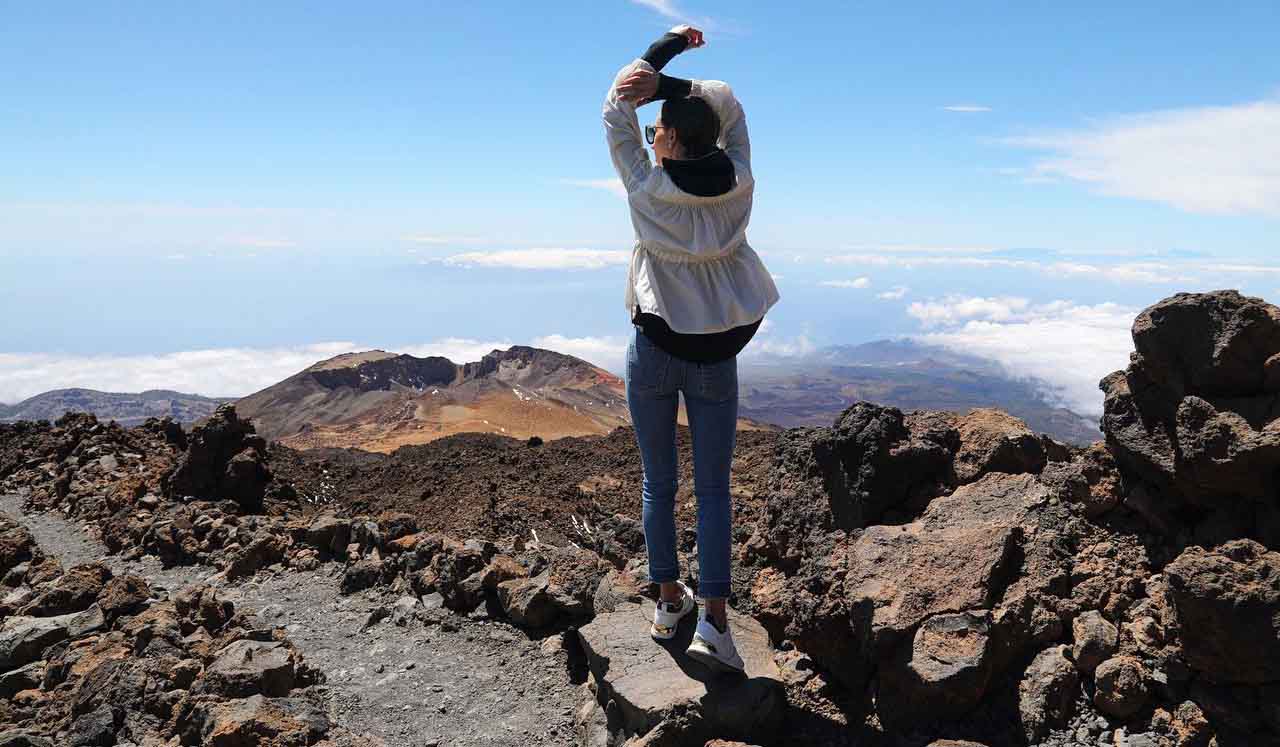
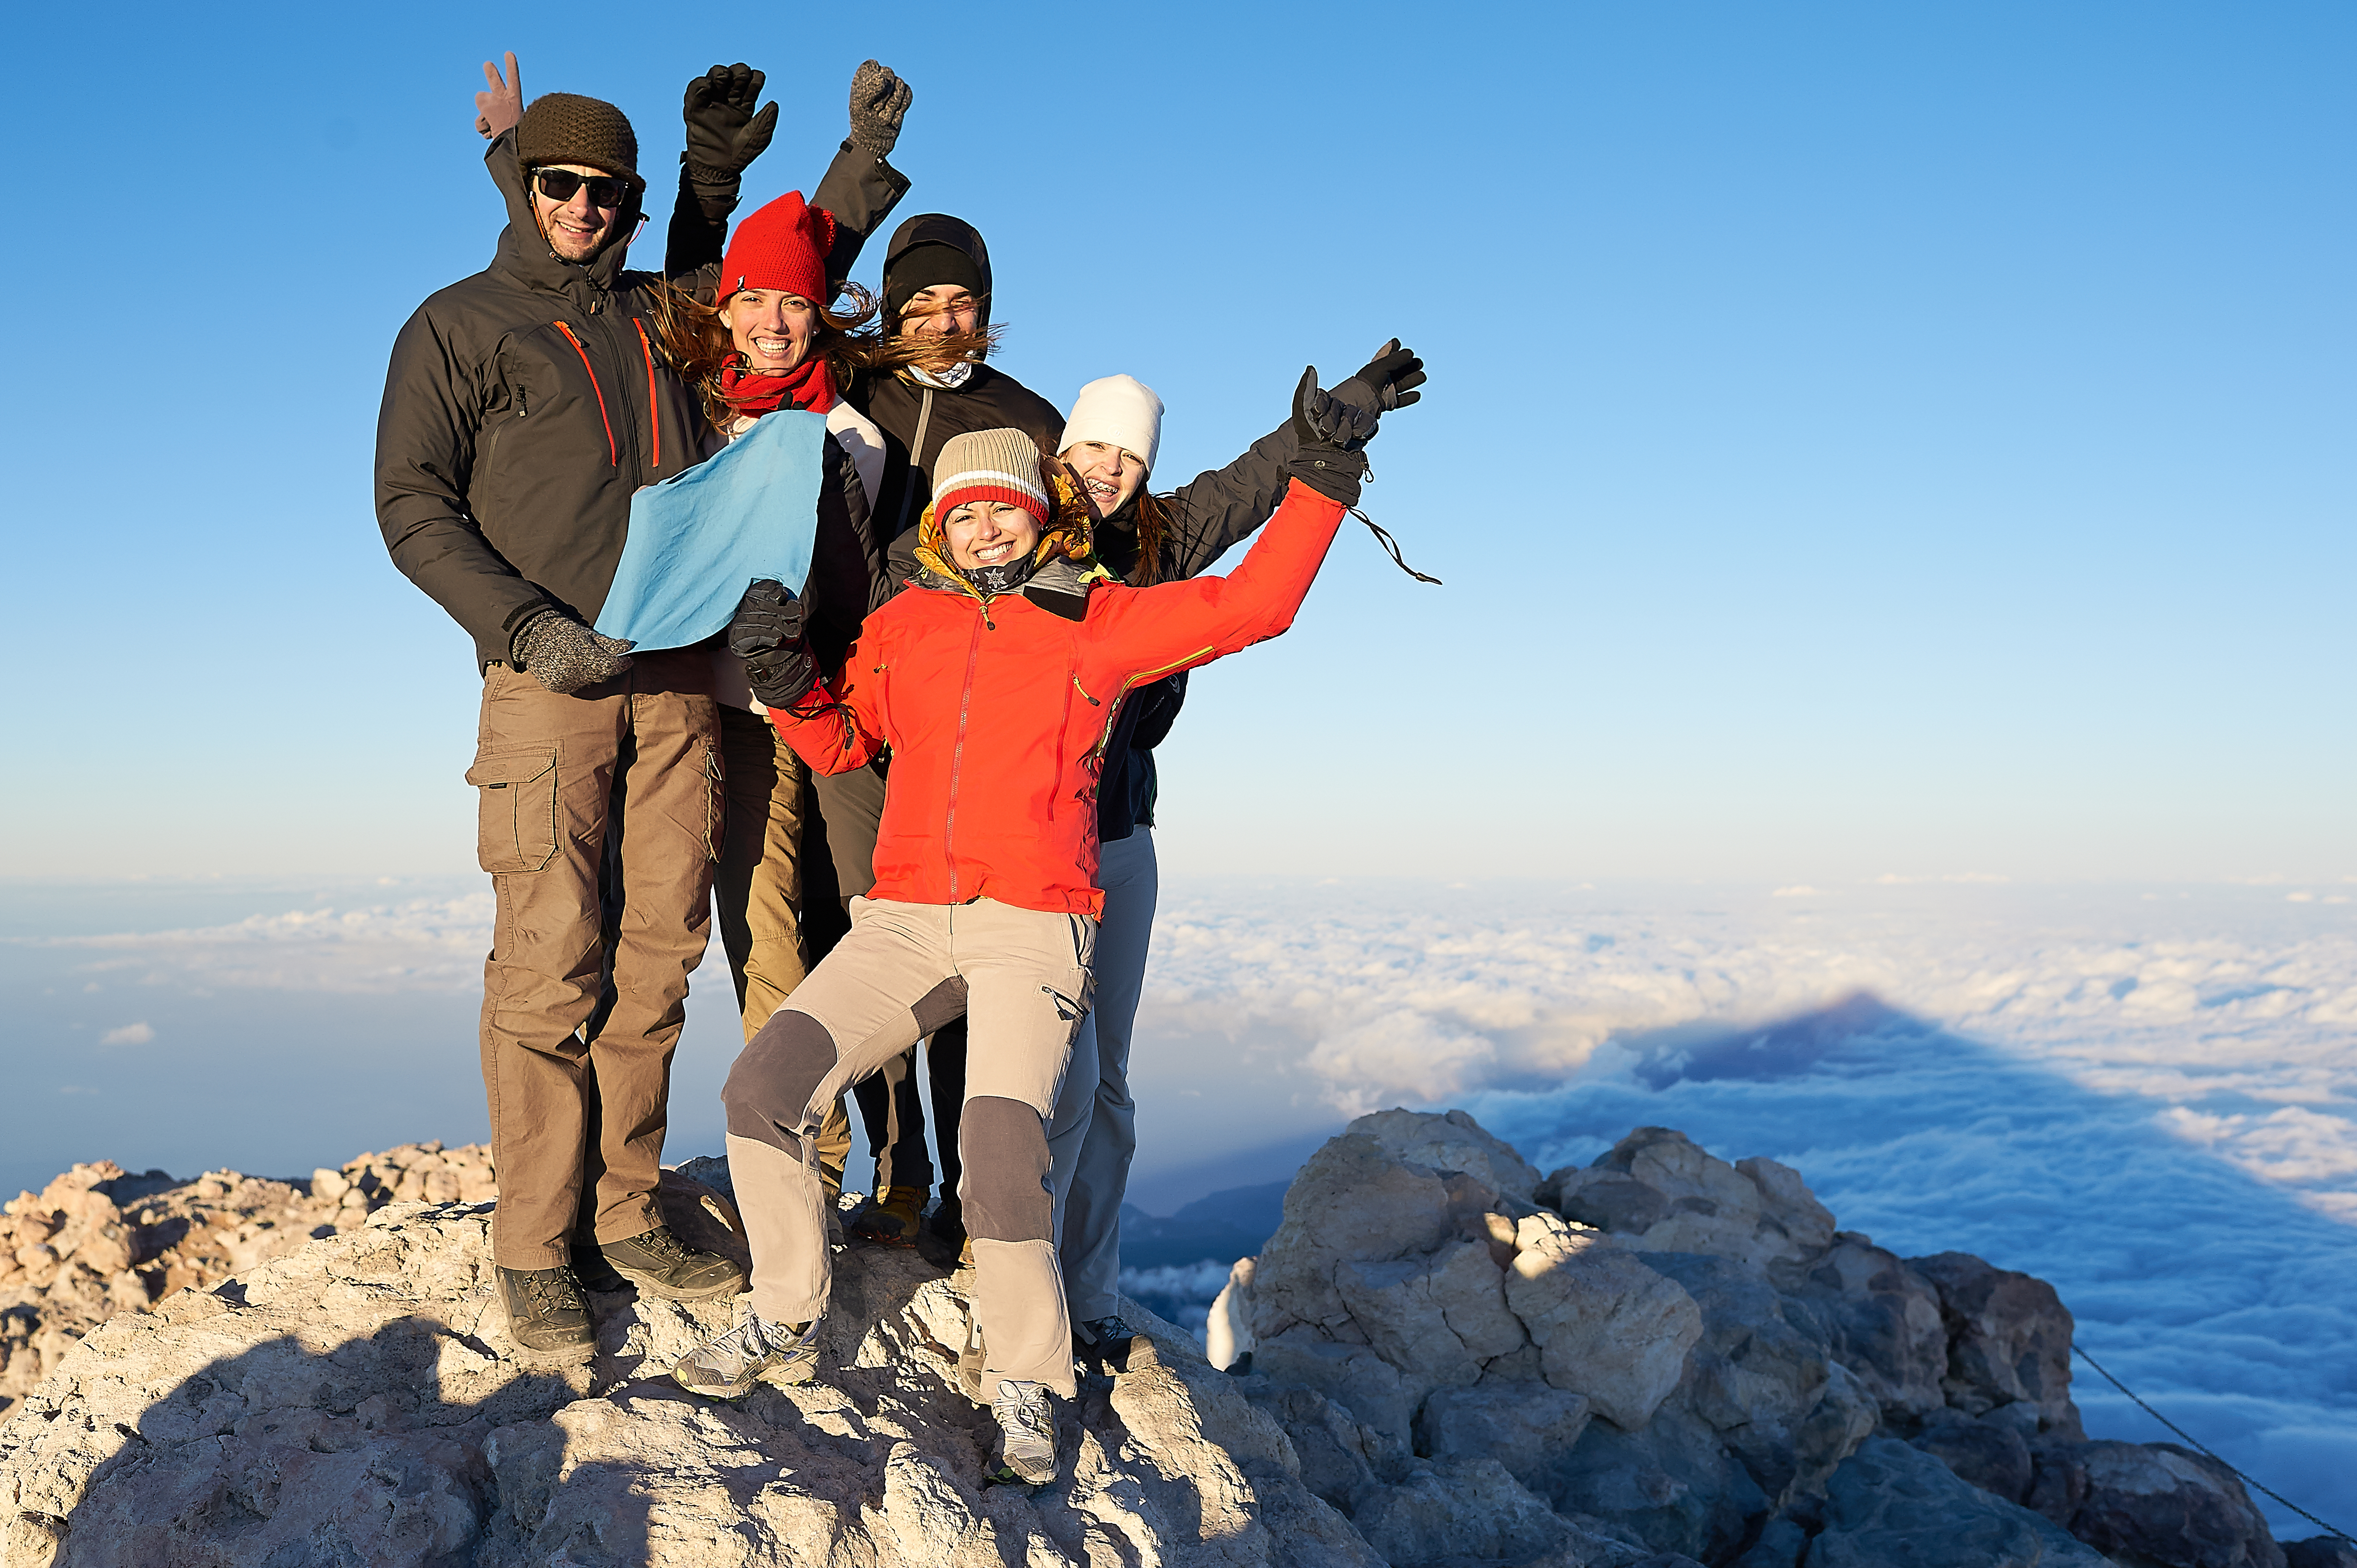
And there’s more! The cherry on the cake is at the end of the road, after you’ve walked the spectacular Telesforo Bravo trail, which peters out at the highest point in the country: Teide’s summit.

From there, you’ll see one of the best views in the world. You’ll witness the hypnotic combination of a riot of colours and shapes, with the backdrop of neighbouring islands and the scent of sulphur in the air that reminds you you’re standing on an active volcano. Don’t forget: the Teide might be sleeping, but it’s still breathing.
The fourth stage of the Teide hike: what goes up must come down
Before mentioning a few things we think you really need to know, we’re going to talk about what your two options are for the way down:
Option 1 → Go back the way you came
Leave the Telesforo Bravo trail and head towards the refuge, taking trail number 11 and then number 7 to the Altavista.
You’ve got another four hours walk downhill along the Montaña Blanca Teide trail ahead of you. When you reach the starting point, at the base of the Montaña Blanca, you’ll have completed the toughest challenge that the Teide National Park has to offer.
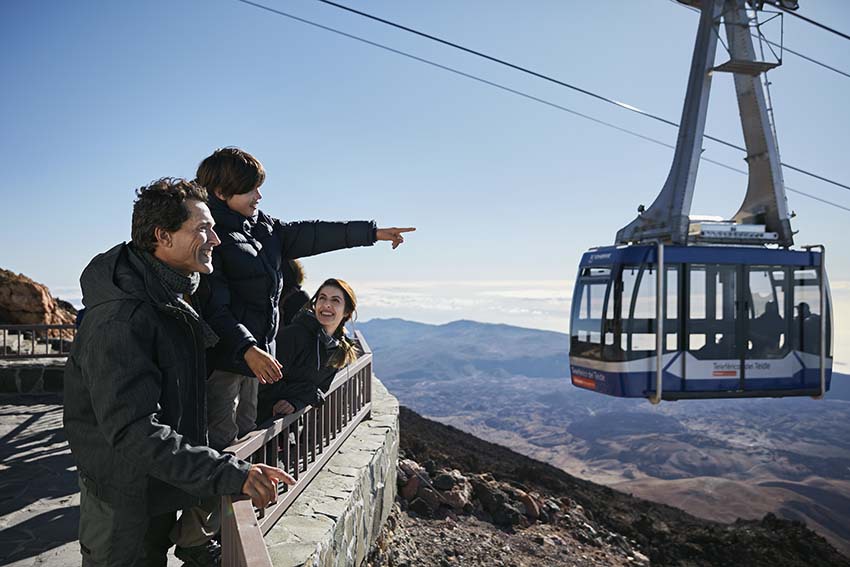
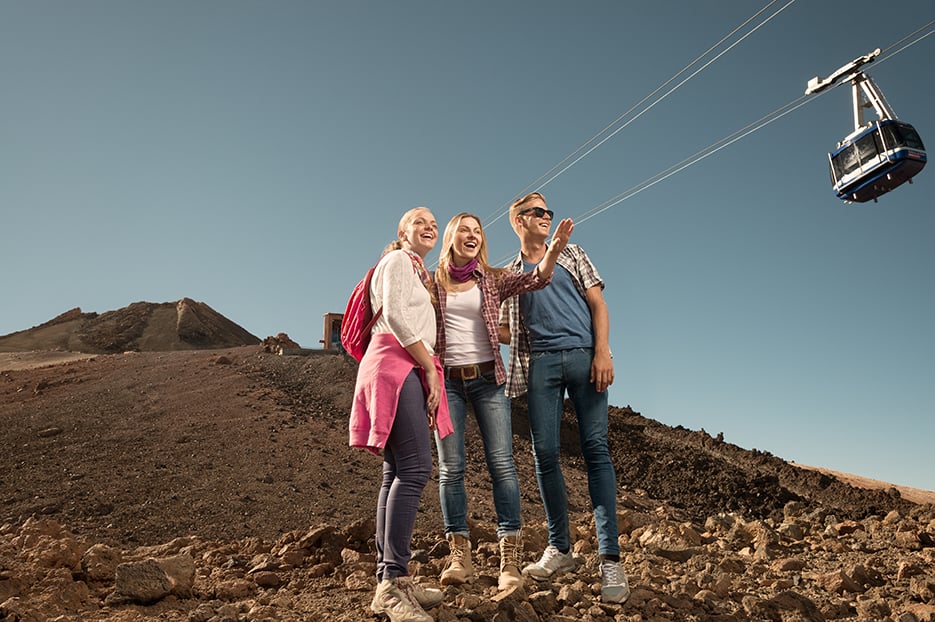
Option 2 → Go down by cable car
For lots of adventurers, taking the cable car on the way down is a godsend after all those hours spent climbing Mount Teide. If you think that might be the case with you, buy the cable car ticket for the descent only in situ.
Yes, I want to book the cable car ticket for the descent
If you choose this option you have to bear in mind that when you get down to the base station, you’ll have to make your way back to the beginning of the Montaña Blanca Teide trail, which is 3 km away.
You will be happy to know that when booking the activity VIP Ascent to the Peak on Foot with us, the cable car ticket for the descent is also included.
I’m already sure, I want to book the Mount Teide hike
Alternative to get to Pico del Teide hiking
If you don’t want to take the tough option of climbing Mount Teide via the Montaña Blanca Teide trail or you’re going to be accompanied by someone who isn’t as physically capable, the cable car is your best option. That’s why we’ve put together this other post, in which we talk in detail about your options to reach the peak with the help of the cable car.
But if you’ve already decided, don’t hang around! Book with Volcano Teide Experience our star activity, which also includes transport and a guide that will share all of the Teide’s secrets with you:
Teide National Park at your feet
Climbing Mount Teide isn’t your only option. Far from it. The summit of Mount Teide offers a wide range of possibilities, but this is where the mandatory permits for summit trails, managed via Tenerife ON, come into play, as well as alternative routes to the main crater... we’ve explained it all in this guide on how to get up Mount Teide.
And if you want to explore the volcano under your own steam, don’t miss this: we’ve prepared a calendar on which you can easily see all of the activities that are available in the Teide National Park. Get organizing!

After all that, it’s time to say goodbye, but we’ll leave you with this infographic that compares climbing Mount Teide on foot to doing it with the help of the cable car, just in case after reading this you still haven’t quite made up your mind. Enjoy!